404 error pages tracking

If you use the 404 error pages tracking feature, then these count towards your billable monthly pageviews.
Tracking 404 error pages is essential for many site owners and Plausible helps you automate this process. With our "404 error pages" tracking you can:
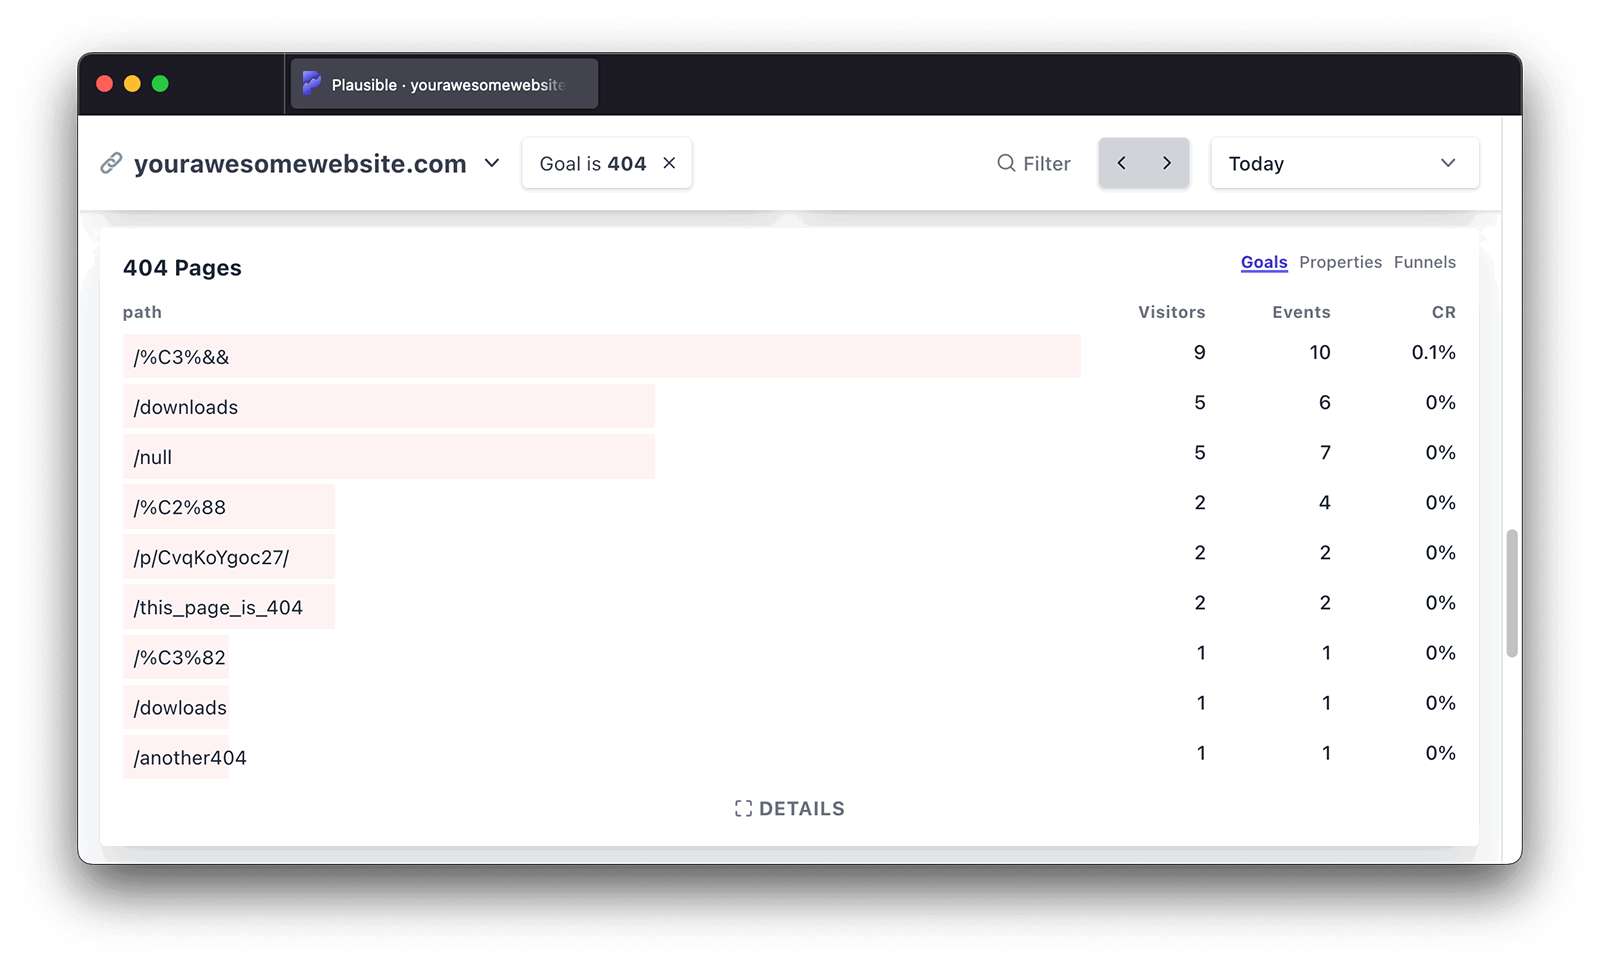
- Get an easy overview of which 404 pages are accessed by your visitors (you can even group error pages by any keyword)
- See where visitors find broken links to your 404 error pages
- Then you can manually fix broken links and redirect error pages
"404 error pages" requires additional work in addition to setting up tracking script. If you want to track 404 error pages, here's how to enable it:
Step 1: Paste this piece of code to your 404 page template
Add this code to your 404 page. For instance, if you're using WordPress, your 404 page template will be called 404.php. It will be located within your theme files.
<script>document.addEventListener('DOMContentLoaded', function () { plausible('404'); });</script>
You can place this code anywhere in the <head> or <body> section of your 404 page template.
The quickest way to start tracking 404 error pages is to use our official WordPress plugin
Step 2: Create a 404 goal on your site
404 events won't show up in your dashboard automatically. You'll have to configure the goal for the conversion numbers to show up.
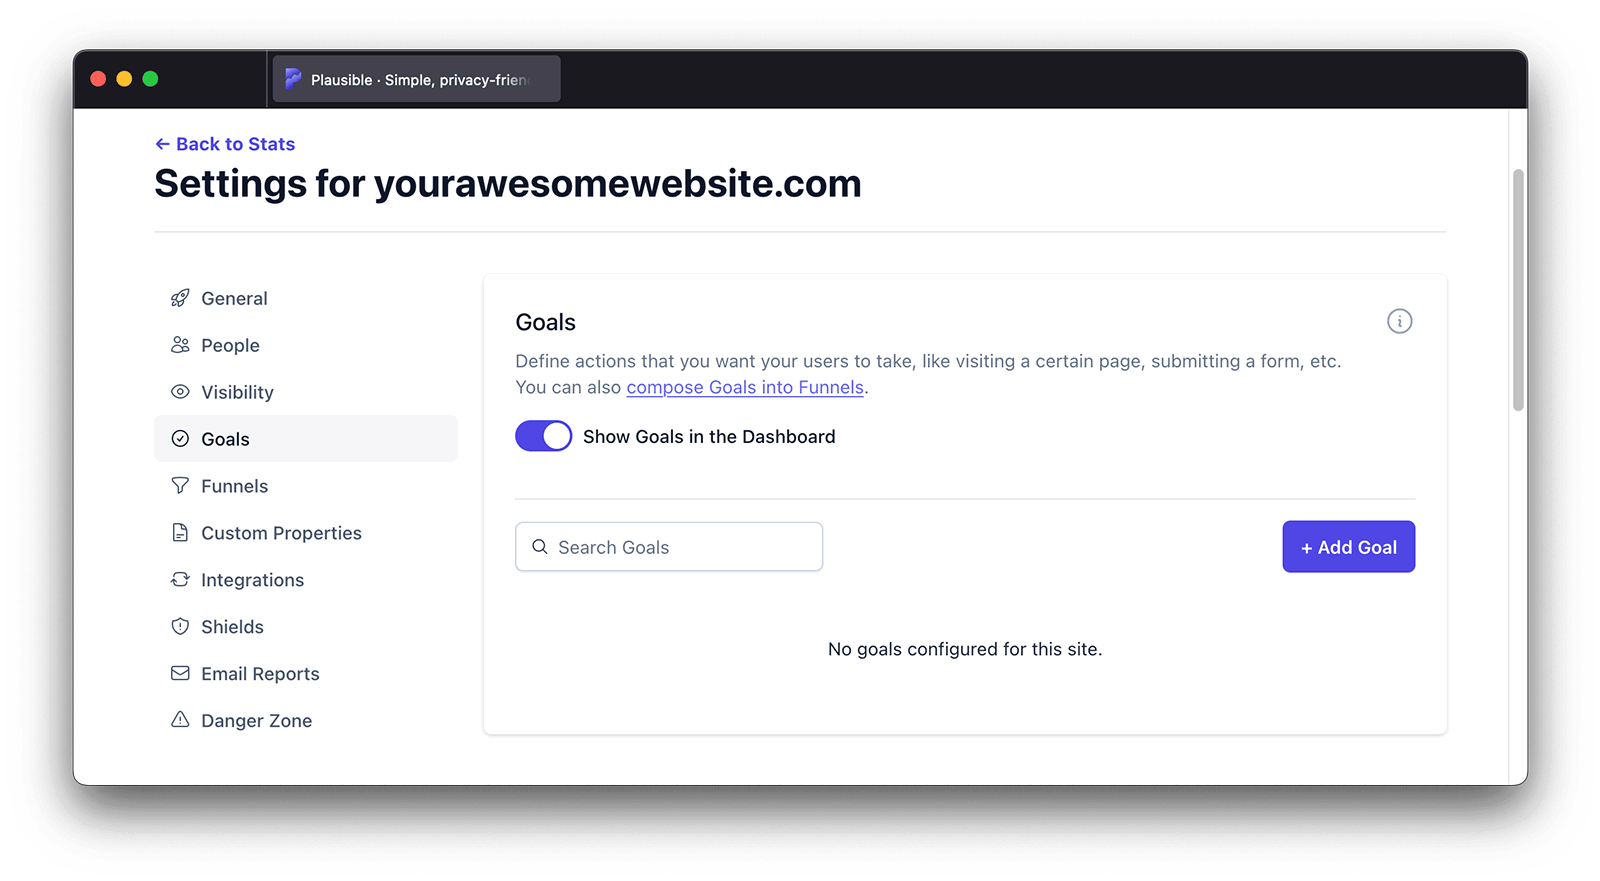
To configure a goal, go to your website's settings in your Plausible account and visit the "Goals" section. You should see a list of current goals with a prompt to add a goal.

Click on the "+ Add goal" button to go to the goal creation form.
Select Custom event as the goal trigger and enter 404 as the name of the custom event you are triggering.
After clicking on the "Add goal" button the goal will be created and you'll be taken back to the Goals page.
Step 3: See all the visits on 404 error pages in your dashboard
After updating your 404 page template and creating the goal, all the visits on 404 error pages will start being tracked and will be displayed in the "Goal Conversions" report of your Plausible Analytics dashboard. You'll see the "404" goal as soon as the first visit on a 404 error page has been tracked.
Click on "404" to see the full list of all visits on all error pages and have your dashboard filtered by error pages only. Click on a particular error page URL to filter the dashboard by those clicks only and get the full overview of that specific URL. Then you can figure out how your visitors discover the broken links and fix them.
You can also group 404 error pages by any keyword. In the "Filter" button in the top right of your dashboard, choose "Property". Then select "path" (this includes all the 404 error page paths we have recorded) and use the "contains" option. Add whatever keyword you want to group 404 error pages by and click on the "Apply Filter" button.
Check out this blog post for more details on the value of tracking 404 error pages.
How to disable "404 error pages" tracking for your site
You can control what data is collected in the "Site Installation" area of the "General" section in your site settings.
When making changes to your optional measurements, your snippet will change so do ensure to insert the newest snippet into your site for 404 error pages tracking to stop. You should also remove the code that you inserted into your 404 error page template.
After you disable 404 error pages tracking, we will automatically remove the goal called 404 from your site.
Thanks to Jeremiah Lee for contributing this to the Plausible Analytics community!